 Blog
Blog Podcast
 Ayuda
Ayuda Acceso de clientes
MemberMouse ofrece una mejor manera de integrarse con Zapier utilizando notificaciones push cada vez que se produzcan eventos clave en el sistema (por ejemplo, altas de socios, compras, bajas, fallos de pago, etc.).
Basta con seleccionar "Notificar a Zapier" al seleccionar lo que debe hacer la notificación en "Realizar la siguiente acción...".
Zapier es una herramienta para conectar diferentes aplicaciones y pasar información entre ellas. Hay literalmente miles de aplicaciones que se integran con Zapier y ya que ahora puede enviar fácilmente información por correo electrónico a través de MemberMouse con notificaciones push, ahora puede conectarlo fácilmente a Zapier a través de Zapier Email Parser.
El Email Parser lee los correos electrónicos que se le envían y selecciona secciones específicas en ellos para luego pasar los detalles a Zapier.
Paso 1: Configurar una cuenta Zapier Email Parser
1. Ir a Analizador de correo electrónico de Zapier and you’ll be directed to login. If you do not have a general Zapier account, you’ll first have to create a free account and then go to the Email Parser page, and click the ‘login’ button.
2. Once you’ve created your account you’re asked to create a mailbox. To continue, click the Crear buzón botón.
3. After you’ve created a mailbox you’ll be sent to a screen where it gives you the email address of your new Zapier mailbox. This is the address you use to send emails to for it to parse. At this point, it will wait for the first email to be received so you can teach it how to interpret the emails you’ll be sending. 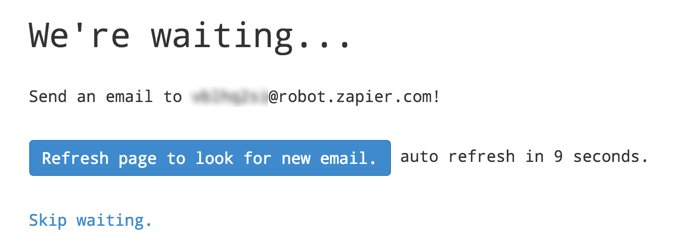
You’ll want to copy or make note of this email address. Then, keep this tab open while you move on to the next step.
Paso 2: Crear un correo electrónico de notificación push
1. En el menú MemberMouse, seleccione Herramientas para desarrolladores y, a continuación, haga clic en el botón Notificaciones Push ficha.
2. Haga clic en el botón Crear notificación push botón.
3. Se abrirá una ventana emergente en la que podrá seleccionar el tipo de evento para el que desea crear una notificación. Seleccione el evento que desea utilizar para activar la notificación push.
En función del tipo de evento que seleccione, puede haber condiciones adicionales que puede establecer para cuándo debe enviarse la notificación push. Por ejemplo, si selecciona el evento Miembro añadido puede indicar si desea que la notificación push se active cuando se añadan miembros a todos los niveles de afiliación o a un nivel de afiliación específico.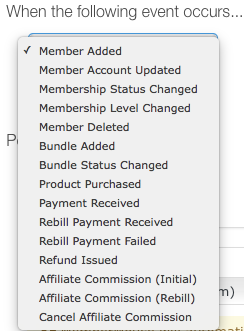
4. Next you want to specify what should happen when the event occurs. In this case you’ll select Notificar Zapier.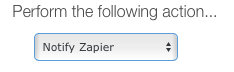
5. A continuación, debes indicar dónde se enviará el correo electrónico rellenando el campo Buzón. Asegúrate de incluir la dirección de correo electrónico o buzón de Zapier que acabas de crear en el parser de zapper. Puedes seleccionar cualquier correo electrónico del empleado that you prefer for the “From” section. The important step is to make sure you’ve included the correct Zapier mailbox address. This will ensure that the email is sent to the specific Zapier mailbox you created earlier.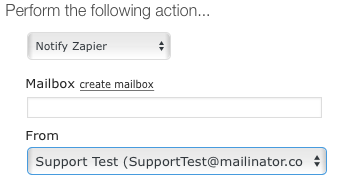
Nota: MemberMouse will automatically send all data related to the selected event to Zapier. If you’d like to append additional information to the data already being sent, enter it in the “Additional Information” field below the “From” section.
6. Haga clic en el botón Guardar notificación push botón.
Paso 3: Enseñe al analizador de correo electrónico de Zapier a interpretar su correo electrónico
1. Ahora tienes que enseñar al Zapier Email Parser el formato de tu correo electrónico para que pueda alimentar los datos a través de Zapier y de ahí a cualquier aplicación con la que quieras integrarte.
To do this you’ll need to send a test email. The easiest way to do this is to click the beaker icon next to the push notification you just set up which will trigger the push notification and send an email with test data.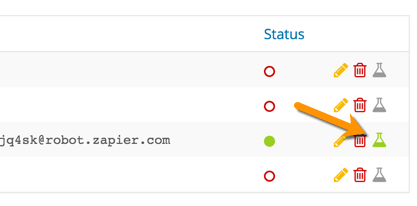
También puede realizar una prueba real en la que siga los pasos de su sitio web que harían que la notificación push se activara de forma natural. Por ejemplo, si configuras una notificación push basada en el botón Miembro añadido en su sitio web para dar de alta a un nuevo miembro.
2. Once you’ve sent the first email to the email parser, head back to the window where you set up the email parser mailbox and wait until it detects the email and takes you to a screen where you can teach it how to interpret the email.
Lo que haces es resaltar diferentes elementos del correo electrónico y decirle al analizador lo que hay en esa sección dándole un nombre de campo al que te referirás más adelante en Zapier.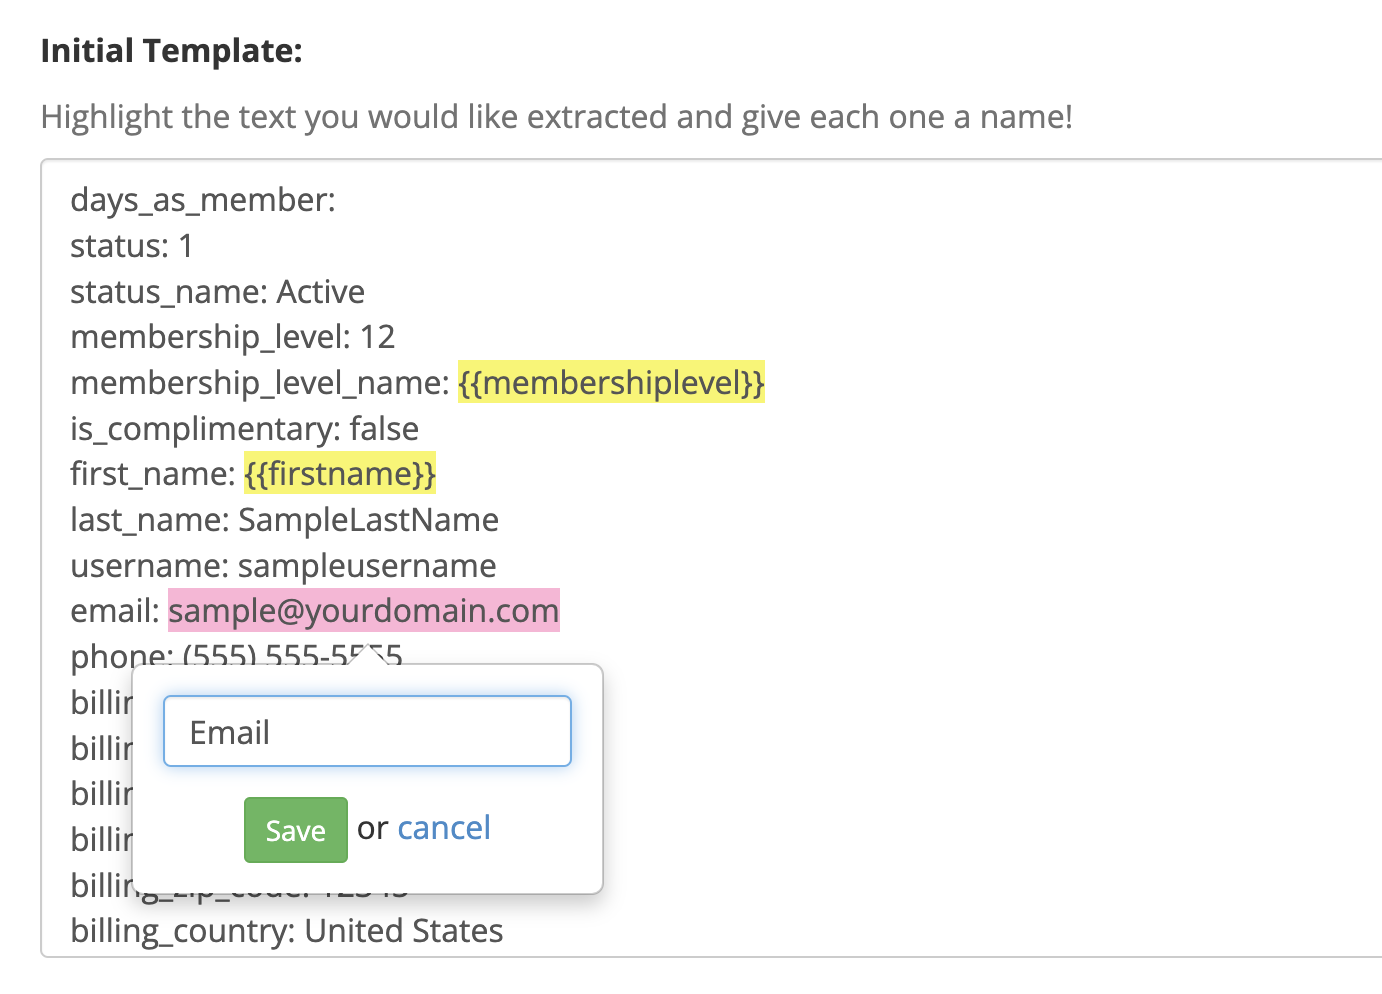
3. Cuando haya especificado todos los campos clave, haga clic en Guardar dirección y plantilla y listo.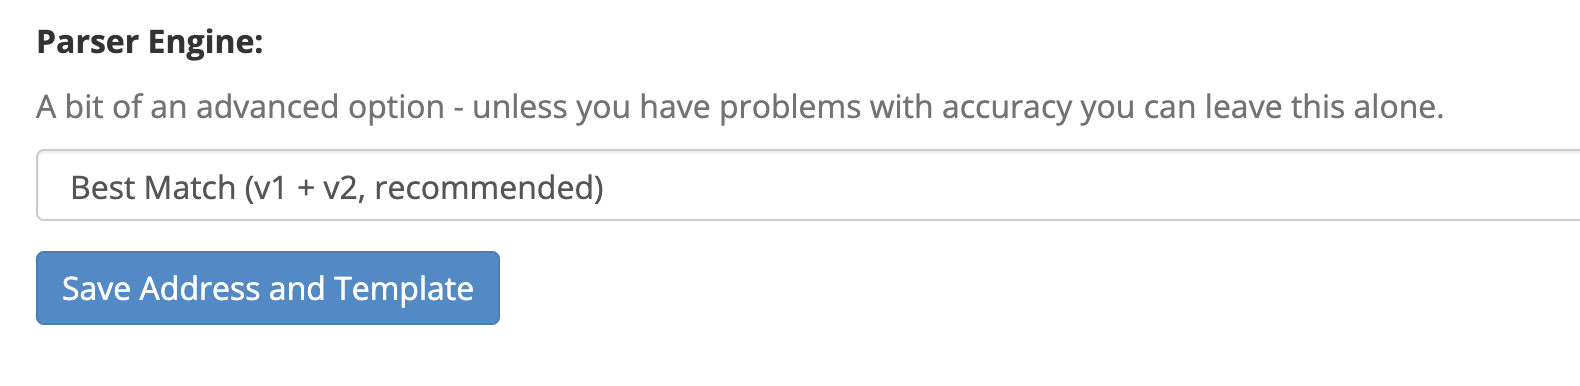
Paso 4: Crea tu Zap
Ahora que ha configurado una notificación push activada por un evento específico para enviar un correo electrónico al analizador de correo electrónico de Zapier y ha entrenado al analizador para identificar datos específicos en la plantilla de correo electrónico, ya puede crear un Zap y conectar MemberMouse a cualquiera de las miles de aplicaciones integradas con Zapier.
1. Inicie sesión en su cuenta en Zapier.com y haga clic en el botón Crear Zap botón.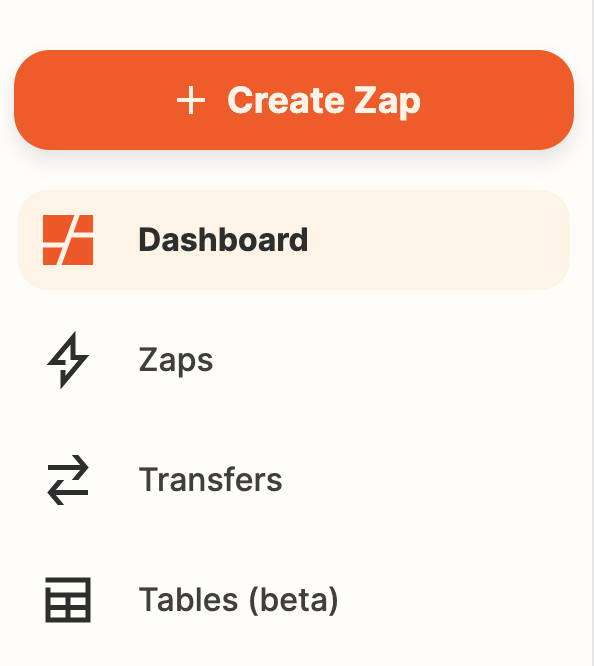
2. First you’ll be taken to a screen where you’ll specify your ‘Trigger’. Type Analizador de correo electrónico en el cuadro de búsqueda y seleccione Analizador de correo electrónico de Zapier de la lista.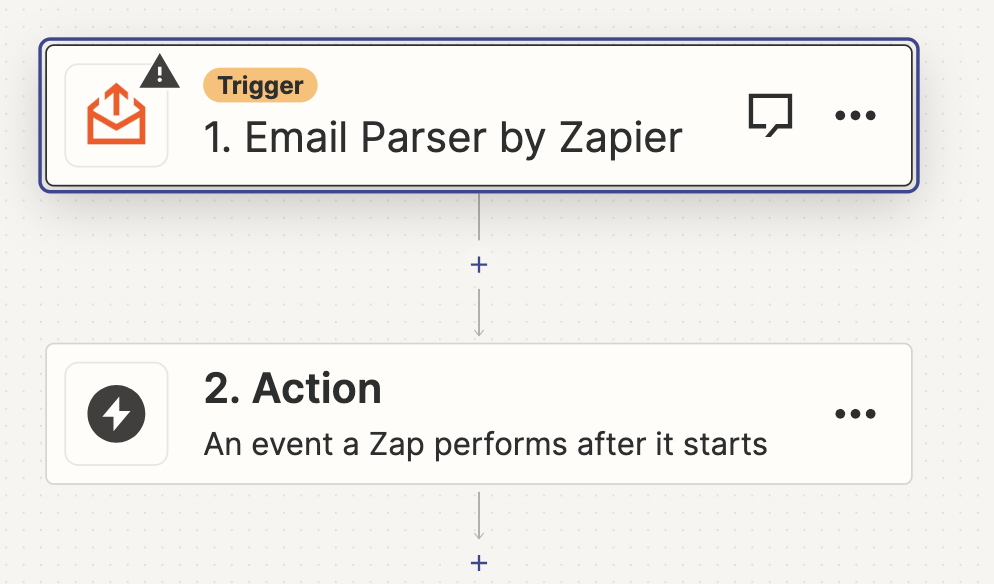
3. A continuación, seleccione Nuevo correo electrónico como desencadenante y Continúe en.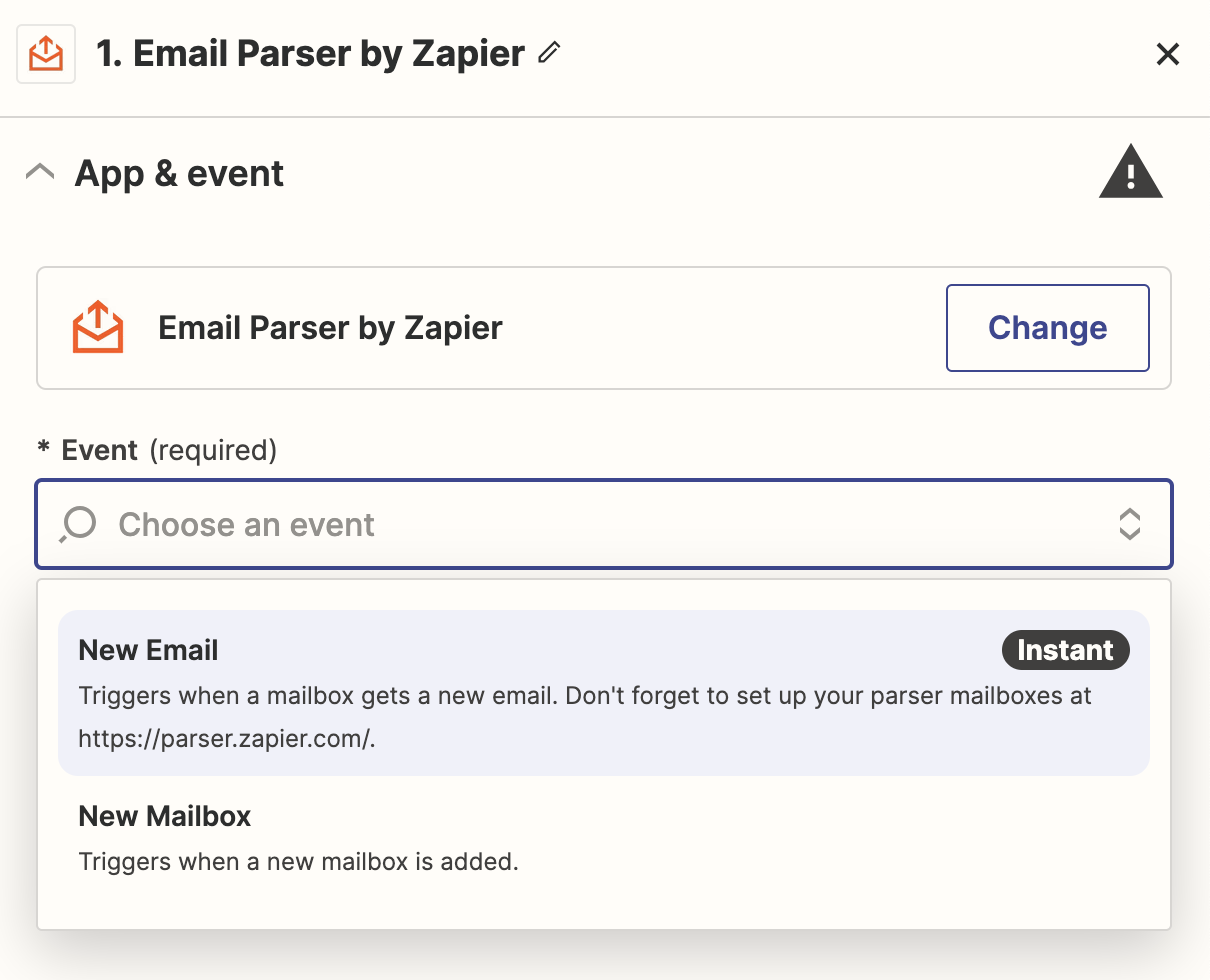
4. Now you’ll be prompted to connect to the account you created on Email Parser by Zapier. Just click the Conectar una nueva cuenta button and follow the instructions to authorize your account. Once you’ve connected your account, select it from the list (if you have more than one account) and click Continúe en.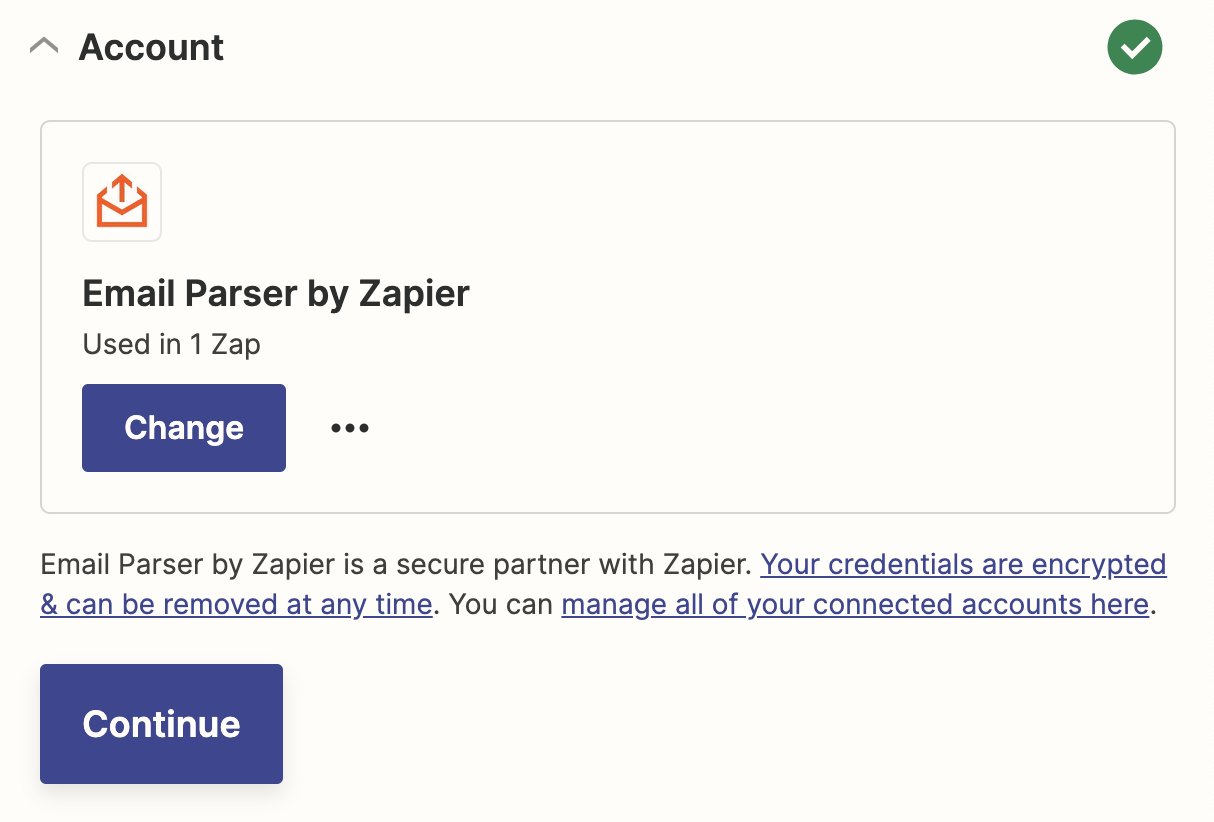
5. After that you’ll need to specify the specific mailbox to use a trigger. If you click into the text input field this will pull back a list of available mailboxes on your email parser account. Select the appropriate mailbox and click Continúe en.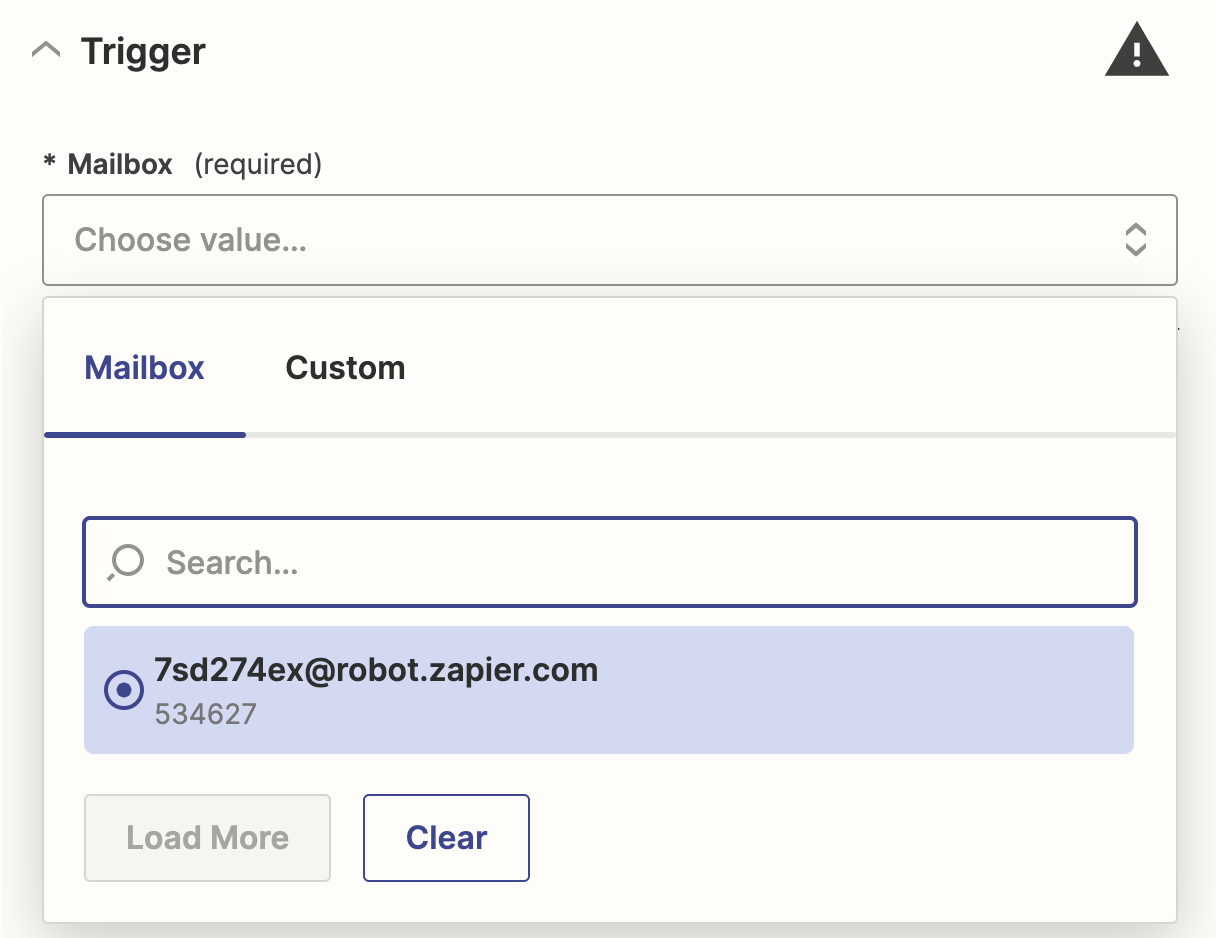
6. Then you’ll be asked to Disparador de prueba. Click this. If you’ve followed all the steps up until this point this will be a message that says “This email was found”. If this is the case, click the Continúe en button to continue. If you don’t see the success message then follow the instructions on screen to resolve any issues.
7. At this point you’re now ready to choose the “Action App” that should be integrated with as a result of the trigger that was just set up. Read this article on Zapier.com to learn more about configurar su acción Zap.

 ES
ES  EN
EN  DE
DE  FR
FR  PT
PT 


