 Blog
 Podcast
 Ayuda
 Acceso de clientes

Cómo construir su sitio con MemberMouse y Elementor
Design is one of the most important stages of building a membership site. Whether you’re starting from scratch or have an existing website, you want to create a beautiful, enjoyable, and functional experience for your members.
Lo sabemos porque casi todas las semanas recibimos preguntas de nuestros clientes sobre cómo dar estilo a los elementos principales de sus sitios, como las páginas de pago, los paneles de control de los miembros, las áreas de distribución de contenidos, etc.
While MemberMouse is an incredibly powerful membership tool, it’s essentially design agnostic. That means it works “behind the scenes” to handle everything that goes into running a membership site and lets your WordPress theme determine how things look. And unless you’re a WordPress developer or have some serious design chops, it can be frustrating to get your site to look exactly the way you want.
That’s why page builders have become so popular. These are wonderful tools that allow you to build visually, rather than with code. And out of all the page builders on the market, Elementor es sin duda uno de los más destacados.
(Don’t worry if you use Divi – we have lo perfecto para ti)
To help you build a site that looks great and works well, we created this in-depth tutorial video. In it, we’ll show you how to build your site using Elementor and MemberMouse. You’ll learn how to use the core functionality of both tools so that you know how to make them work for your business. We’re really excited to share this with you and hope it helps make designing your site much less of a headache.
¿Listo para sumergirte? Dale al play en el siguiente vídeo.
Resumen en vídeo
| 0:00 | Intro & Overview |
|---|---|
| 2:50 | Crear la página de inicio de los miembros con MemberMouse |
| 13:34 | Cómo trabajar con SmartTags de datos de socios para crear una experiencia personalizada |
| 24:42 | Cómo utilizar la etiqueta inteligente Decisión de los Miembros para mostrar contenido de forma dinámica |
| 46:52 | Cómo diseñar una página de pago |
| 54:00 | Conclusión |
What You’ll Learn In This Video
In this over-the-shoulder tutorial, we’ll show you how to combine the power of MemberMouse and Elementor. After you watch it, you’ll know how to use the powerful features of MemberMouse and design a site you love. In this example, we’ll start by building a member homepage from scratch.
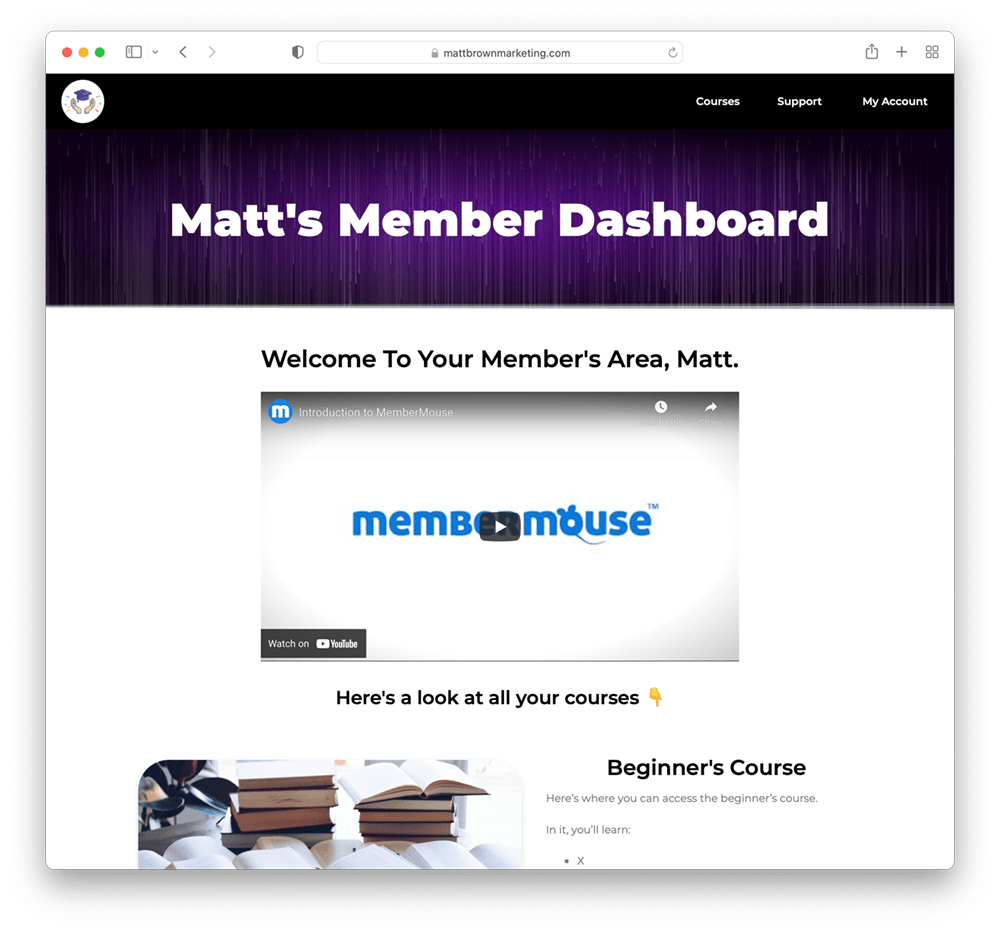
Plus, you’ll see how you can use MemberMouse SmartTags — like the Datos de los miembros SmartTag & Decisión de los miembros SmartTag — to personalize your members’ experience and dynamically display content. It’s pretty fun stuff (in our humble opinion).
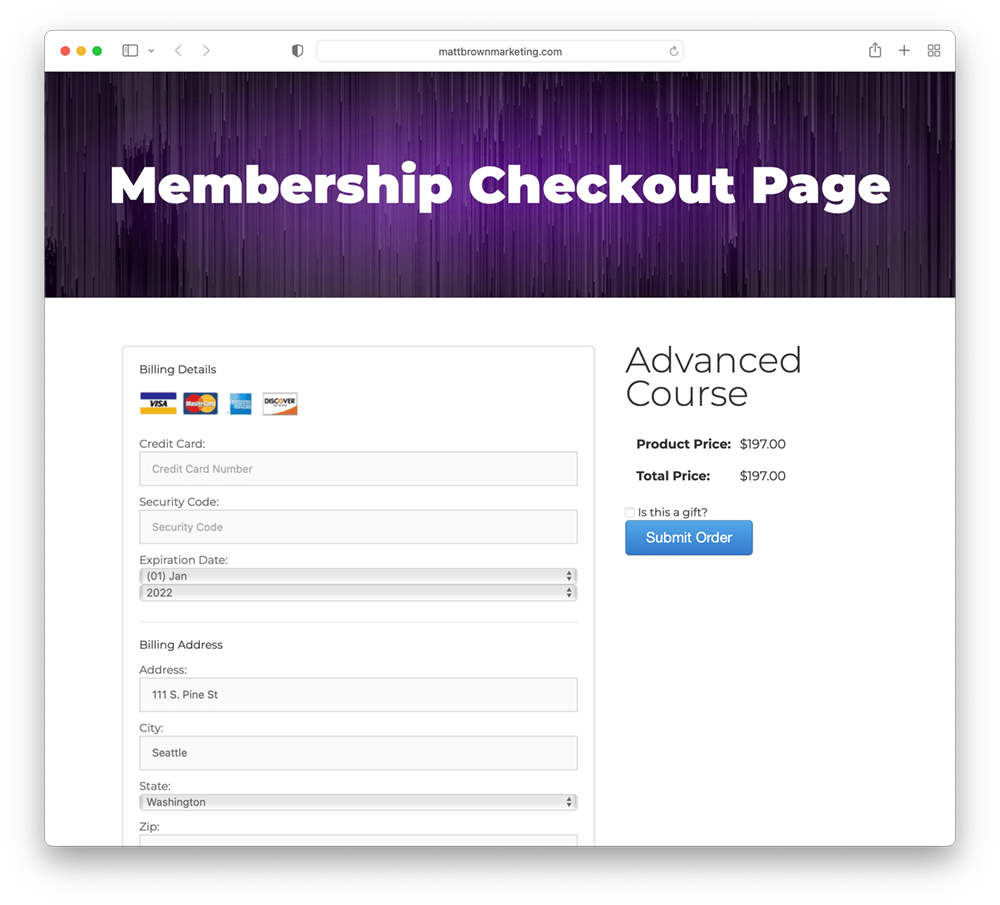
And in the second part of the video, we’ll also take a look at how you can design a checkout page that matches the look and feel of your site:
Below, you’ll find more information and resources about some of the key concepts we cover in the video. If you get stuck or have questions, we’re here to support you. Just leave a comment below in this post and we’ll help you out as soon as we can.
Cómo utilizar la etiqueta inteligente para decisiones de los afiliados
En 24:40 en el tutorial, le mostramos cómo puede utilizar la etiqueta inteligente Decisión de miembro para mostrar contenido de forma dinámica en función de si alguien posee o no un determinado producto.
Como mencionamos en el vídeo, here’s the link to the support article con toda la información que necesita para poner en práctica estas funciones en su sitio web.
Here’s an example of the code snippet you’d paste into an HTML block to implement this on your site:
Just be sure to update your bundle ID number to match the bundle you’re working with.
Cómo personalizar su página de pago
We often get asked about how to make a MemberMouse checkout page conform to the styling of your theme or page builder. That’s why in this section (at 46:52 en el tutorial) le mostramos cómo hacer que cualquier página de pago coincida con el aspecto del resto de su sitio. Y la buena noticia es que todo lo que necesitas hacer es copiar y pegar un pequeño fragmento de código en la sección que deseas cambiar en Elementor.
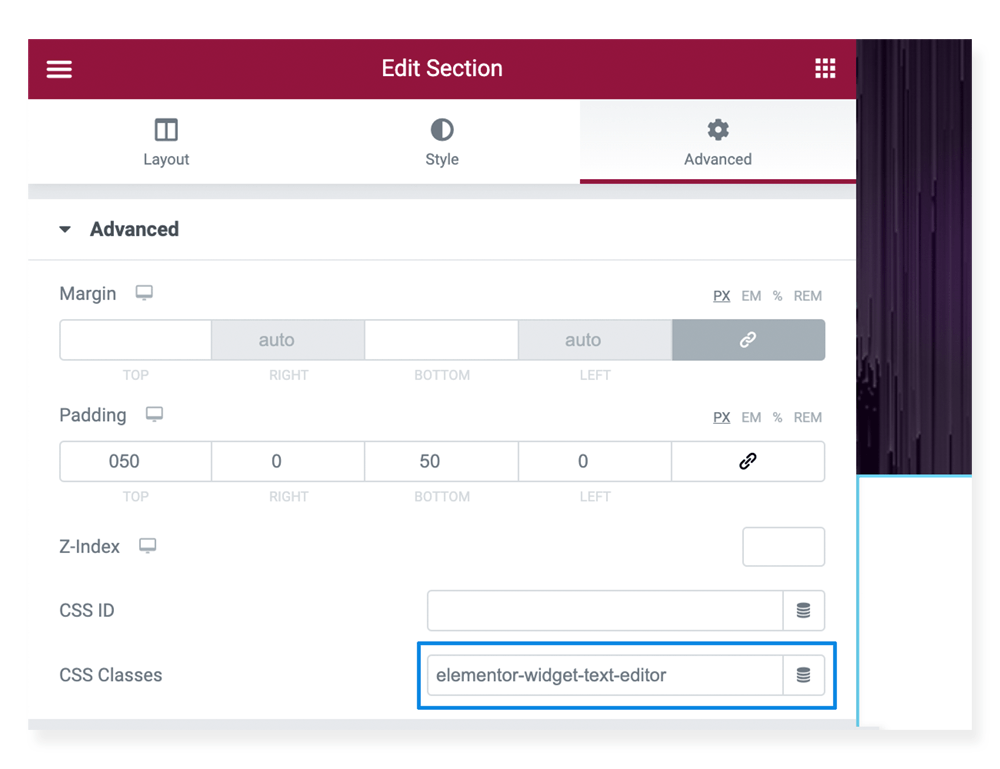
En la sección Clases CSS, basta con pegar este fragmento de código como hago yo en 50:25 en el vídeo:
elementor-widget-editor-texto
Esto anulará el estilo predeterminado de la página de pago y asegurará que sus páginas de pago coincidan con el diseño de su sitio.
Dónde encontrar todas las plantillas de páginas principales
Depending on the version of WordPress you’re using, you might not be able to directly insert all the different MemberMouse Core Page templates from your content editor:
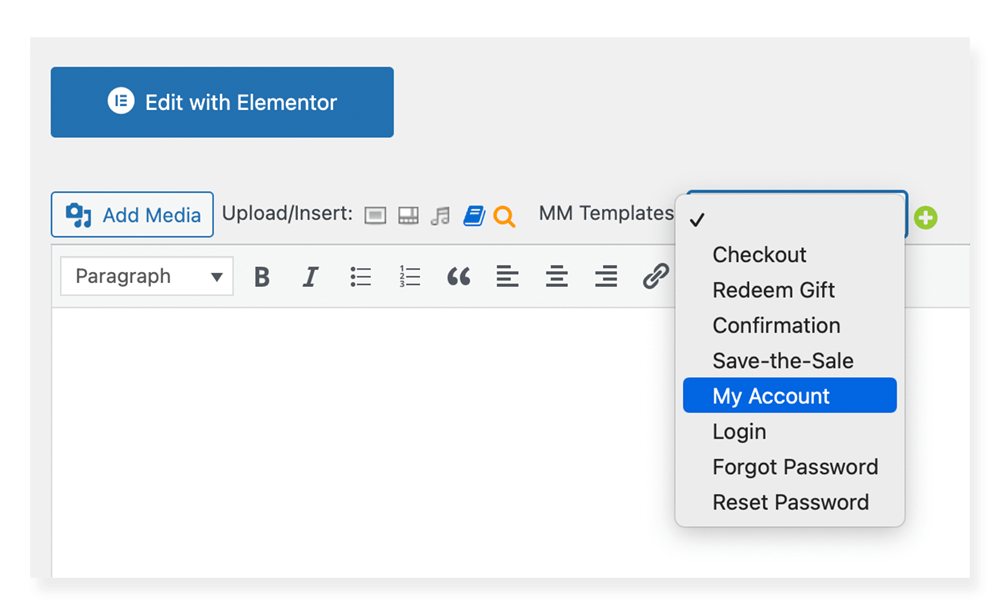
This isn’t a problem, though. All you’ll need to do is visit the page below to find all of the templates you need:
From there, you can simply find the page template you want to work with, copy it, and paste it into the HTML block you’re designing in Elementor.
Conclusión
Thank you for checking out this MemberMouse and Elementor tutorial video. We get how overwhelming it can be when you first start to build your site. If you have any questions about what we’ve covered here, please let us know in the comments below. We love helping people build powerful and profitable membership sites and would be happy to assist you.
Recursos adicionales


Blair Williams
Cuenta de empleado creada por MemberMouse




 ES
 EN
 DE
 FR
 PT


Me pregunto dónde puedo encontrar este vídeo. Actualmente aparece como "no disponible".
¡Hola Jodi! Por favor, actualiza, el vídeo debería estar actualizado. No dudes en ponerte en contacto con nosotros si hay algo más en lo que podamos ayudarte.
Super útil, Matt. Gracias, Matt.
¡Claro que sí! No dudes en ponerte en contacto con nosotros si necesitas algo más, Mike.