Blog
Blog Podcast
 Support
 Customer Login
If our support team requires access to your WordPress admin area to investigate an issue on your site, please follow these steps to create a temporary user account for us to access your site and troubleshoot.
You can delete this temporary account after you get the support you need.
Creating a Temporary Admin User
- Log in to your WordPress admin dashboard.
- On the left-hand side menu, hover over “Users” and then click on “Add New User.”

- Fill in User details
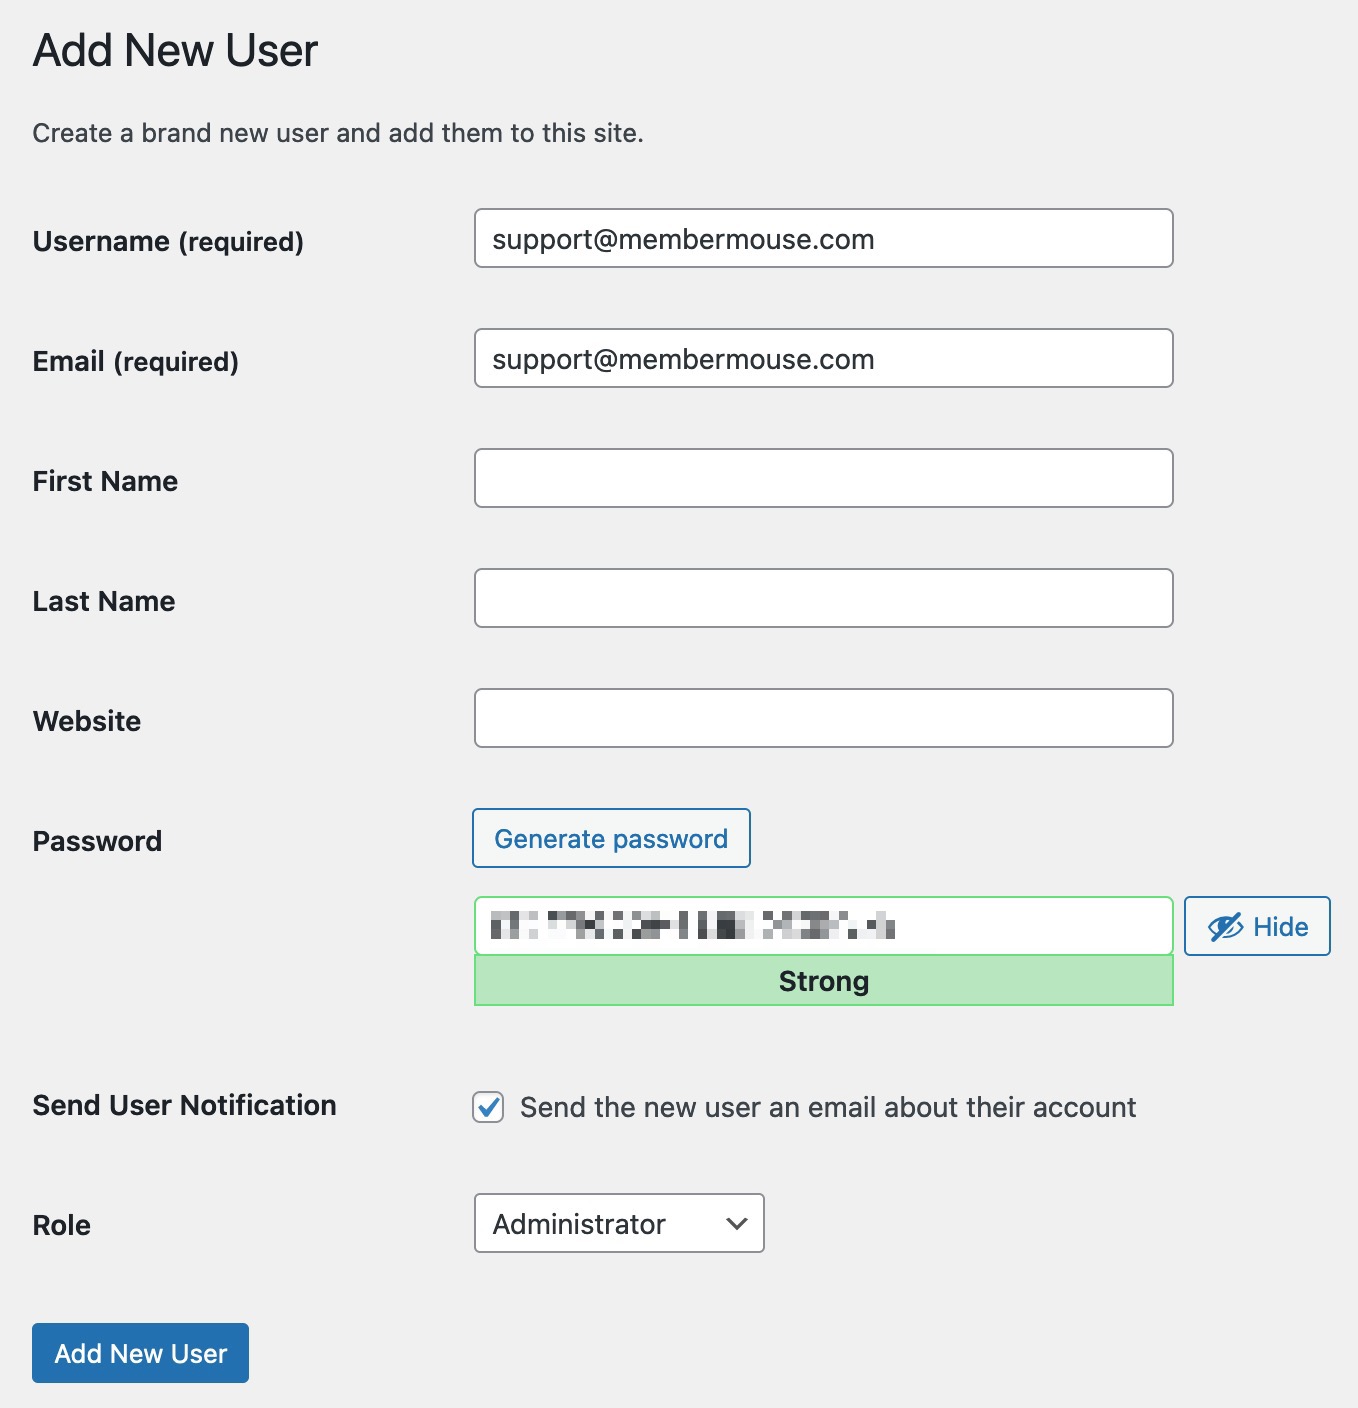
- Username: [email protected]
- Email: [email protected]
- Password: Click the “Show” button and copy the generated password to send to us.
- Send User Notification: Check the box to send the new user an email about their account.
- Role: From the drop-down menu, select “Administrator“.
4. To finish, click the “Add New User” button to create the temporary admin account.
Informing the Support Team
Provide the support team with the following details:
- The username and email address
- The password
- The login URL of your WordPress admin dashboard (e.g., https://yourwebsite.com/wp-admin).
Deleting the Temporary Admin User
Once the support issue has been resolved, it's important to delete the temporary admin user to maintain the security of your site.
- Log in to your WordPress admin dashboard.
- Navigate to the Users page. On the left-hand side menu, hover over “Users” and then click on “All Users.”
- Find the temporary user account. Then, hover over the username and click on “Delete.”

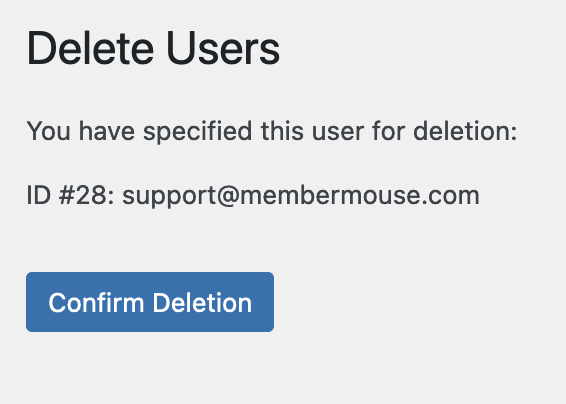
- Confirm Deletion:
- You may be prompted to attribute the content created by this user to another user. Choose the appropriate user, usually your primary admin account.
- Click the “Confirm Deletion” button to permanently remove the temporary admin user.
- You may be prompted to attribute the content created by this user to another user. Choose the appropriate user, usually your primary admin account.